Custom Domains
To set up a custom domain with our tracker it is required to use CNAME DNS record to connect your domain with BeMob system.
Here is a general guide how you can configure and add a custom domain to your BeMob account:
1. Purchase a domain. If you don't have a domain, it is required to purchase one and make sure that this domain is ready, for example, testdomain.com
You can buy your domain through any domain registrar, e.g. GoDaddy.com, NameCheap.com.
2. Create the subdomain for the primary domain, for instance, go.testdomain.com , track.testdomain.com
Any word or phrase on your selection can be used for the first part of your domain, if this hostname is not used.
However if are you going to use this primary custom domain for tracking purposes only, then you can set it without adding a subdomain.
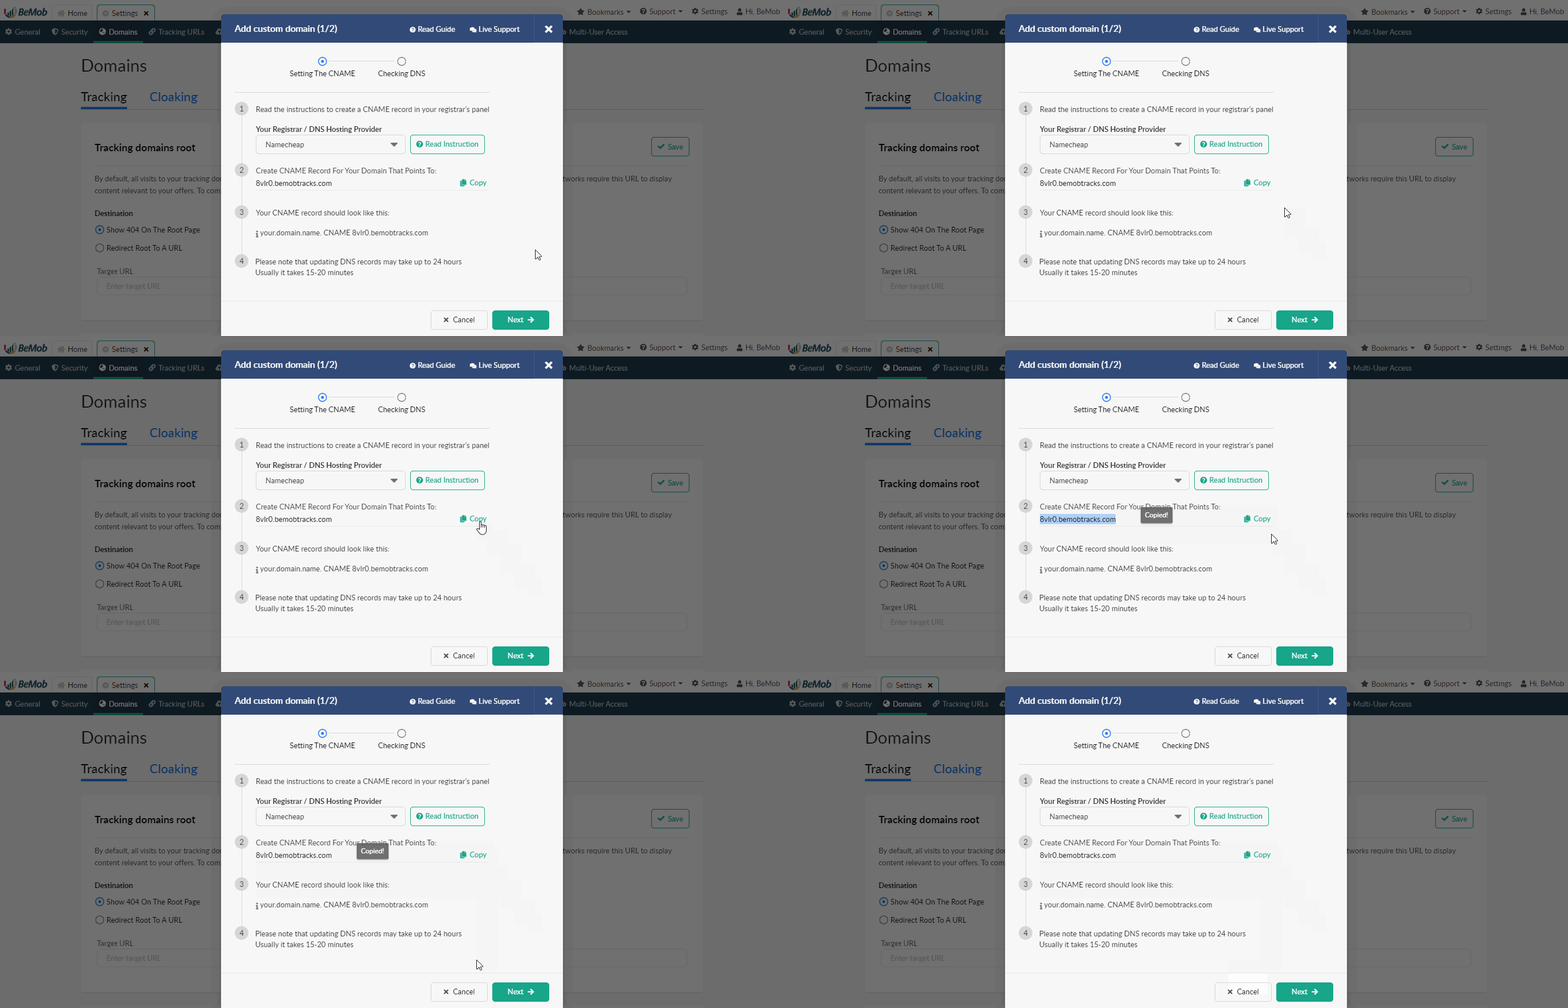
3. Find your default domain in BeMob, copy and insert on registrar side.
Note
For tracking domain the URLs are xxxxx.bemobtrk.com, xxxxx.bemobtracks.com, xxxxx.bemobtrcks.com
For cloaking domain xxxxx.bemobpath.com
4. Set up a CNAME (Alias) record on the subdomain pointing to your BeMob domain.
Note
It is very important that your custom domain will point to BeMob default domain, not the other way around.
When the record is ready, copy to insert it in BeMob.
Tips & Tricks
If it is available you can decrease the TTL number for the CNAME record by setting it to minimum.
5. Go back to Settings on BeMob panel. Press Domains tab and select required domain type.
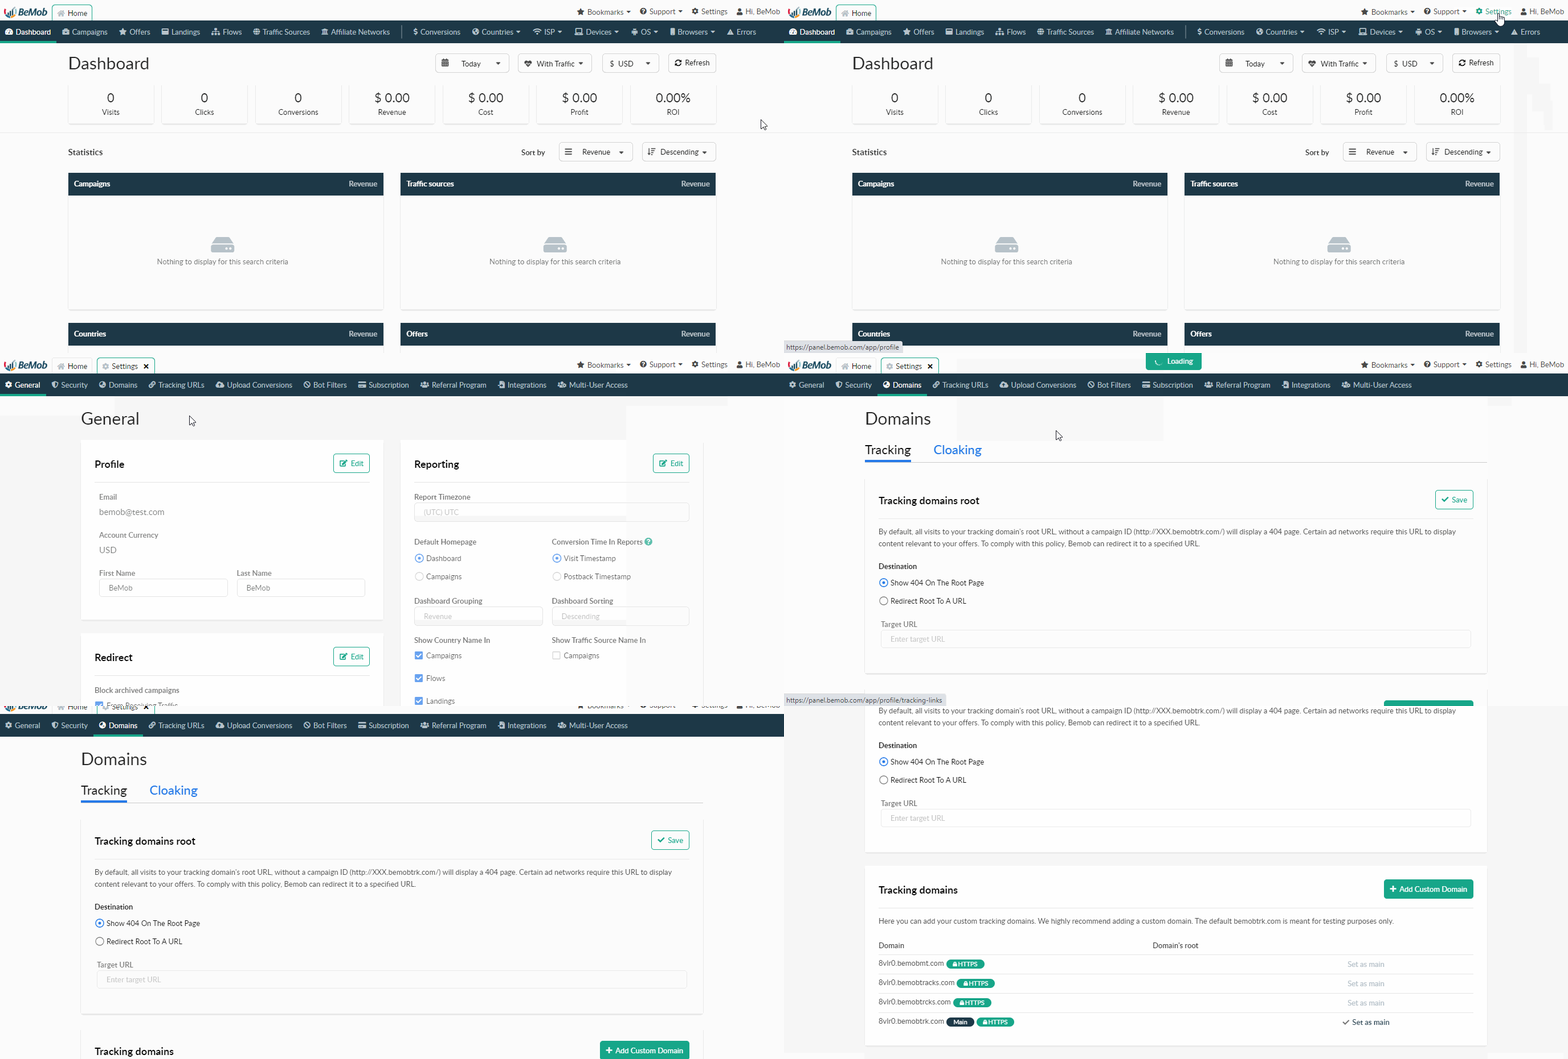
6. Press Add custom domain button.
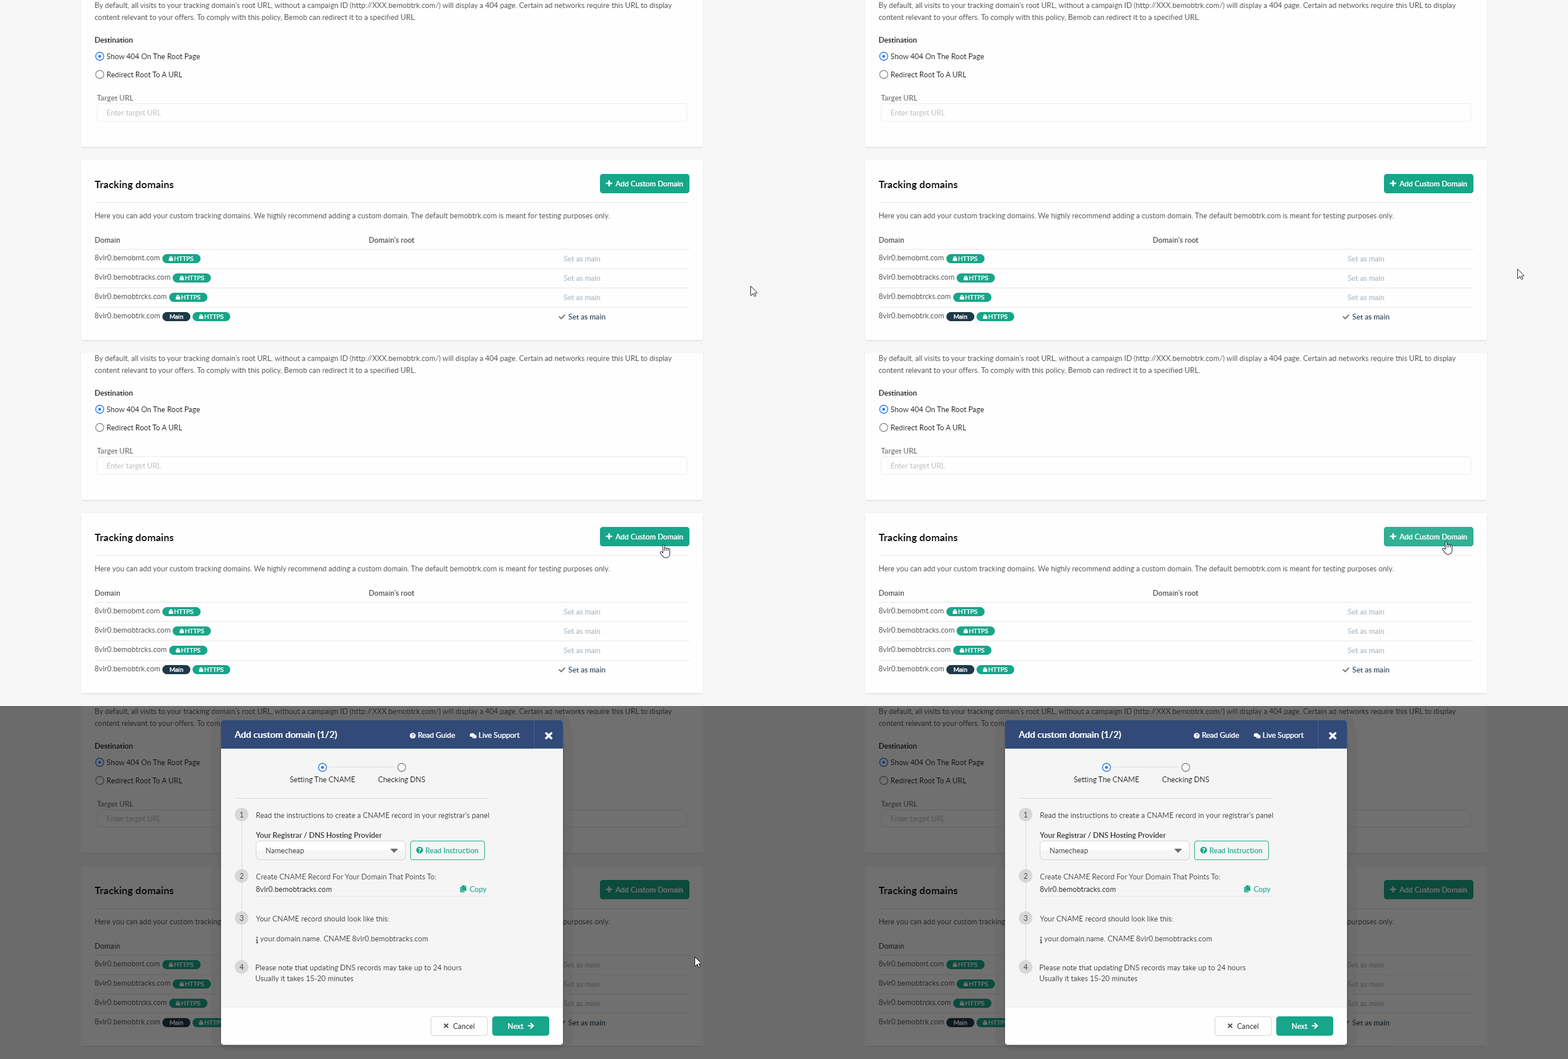
7. A new window with domain settings will appear.
You should select a domain registrar or DNS hosting provider. In the drop-down list you will see the most popular providers: Namecheap, GoDaddy and CloudFlare.
If your domain was registered with one of these registrars, you should select one of them.
This option is aimed to make the setup easier.
Please follow the user guide on required domain registrar to set it up correctly.
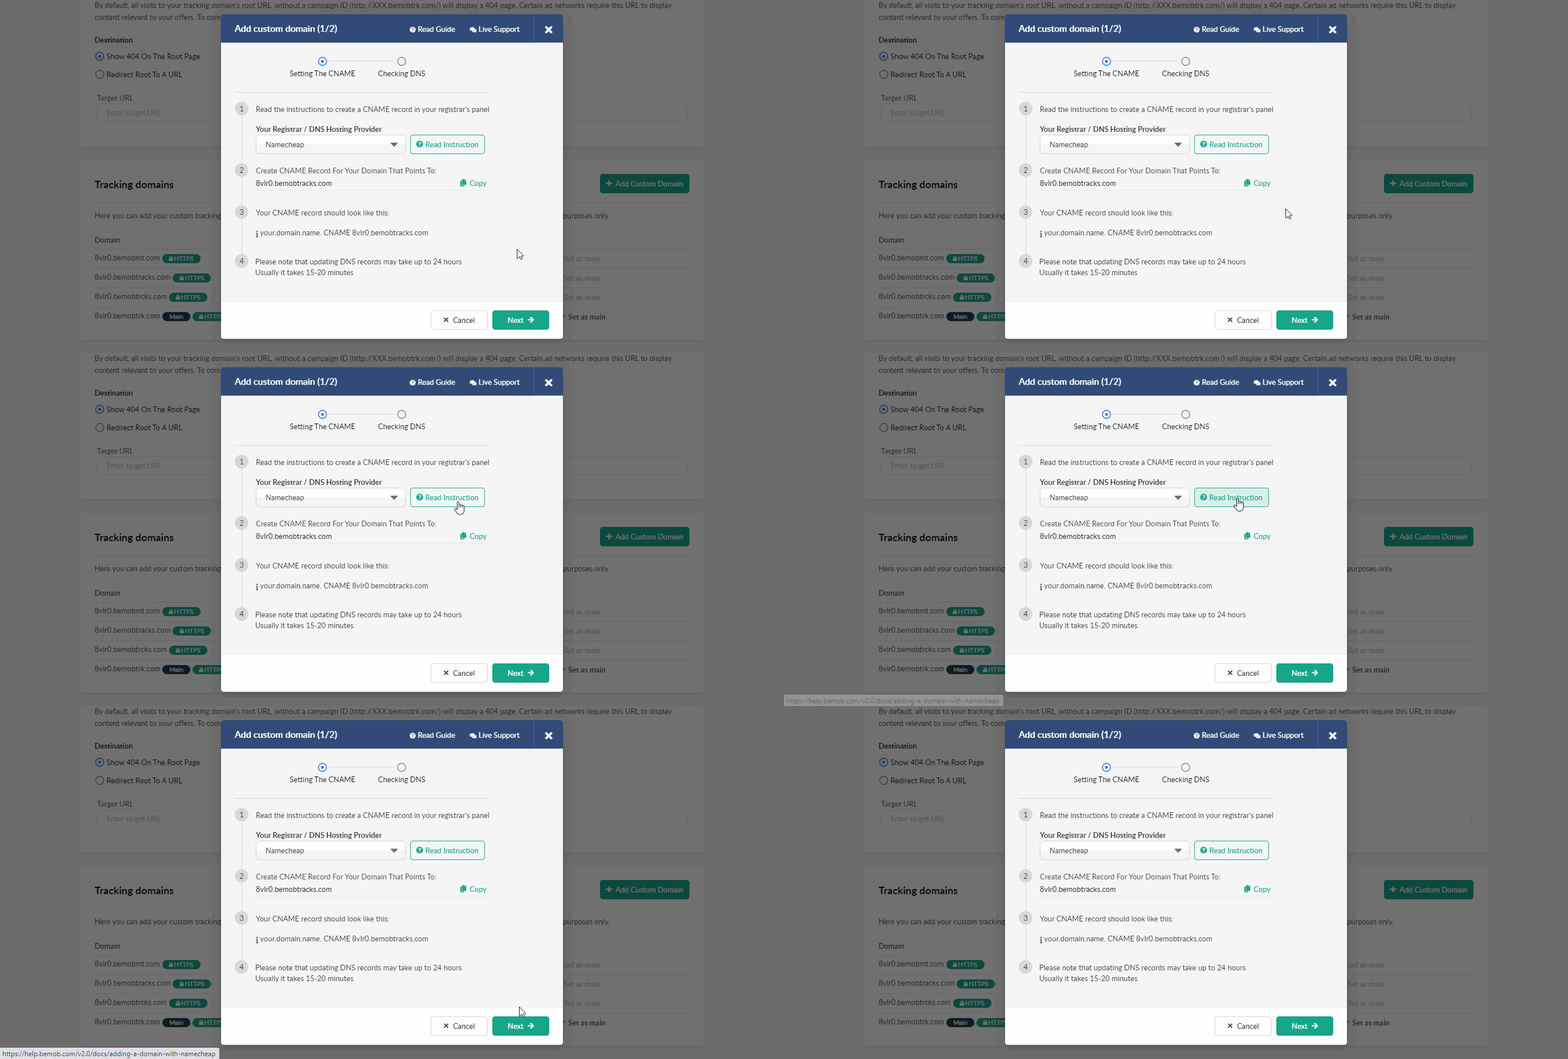
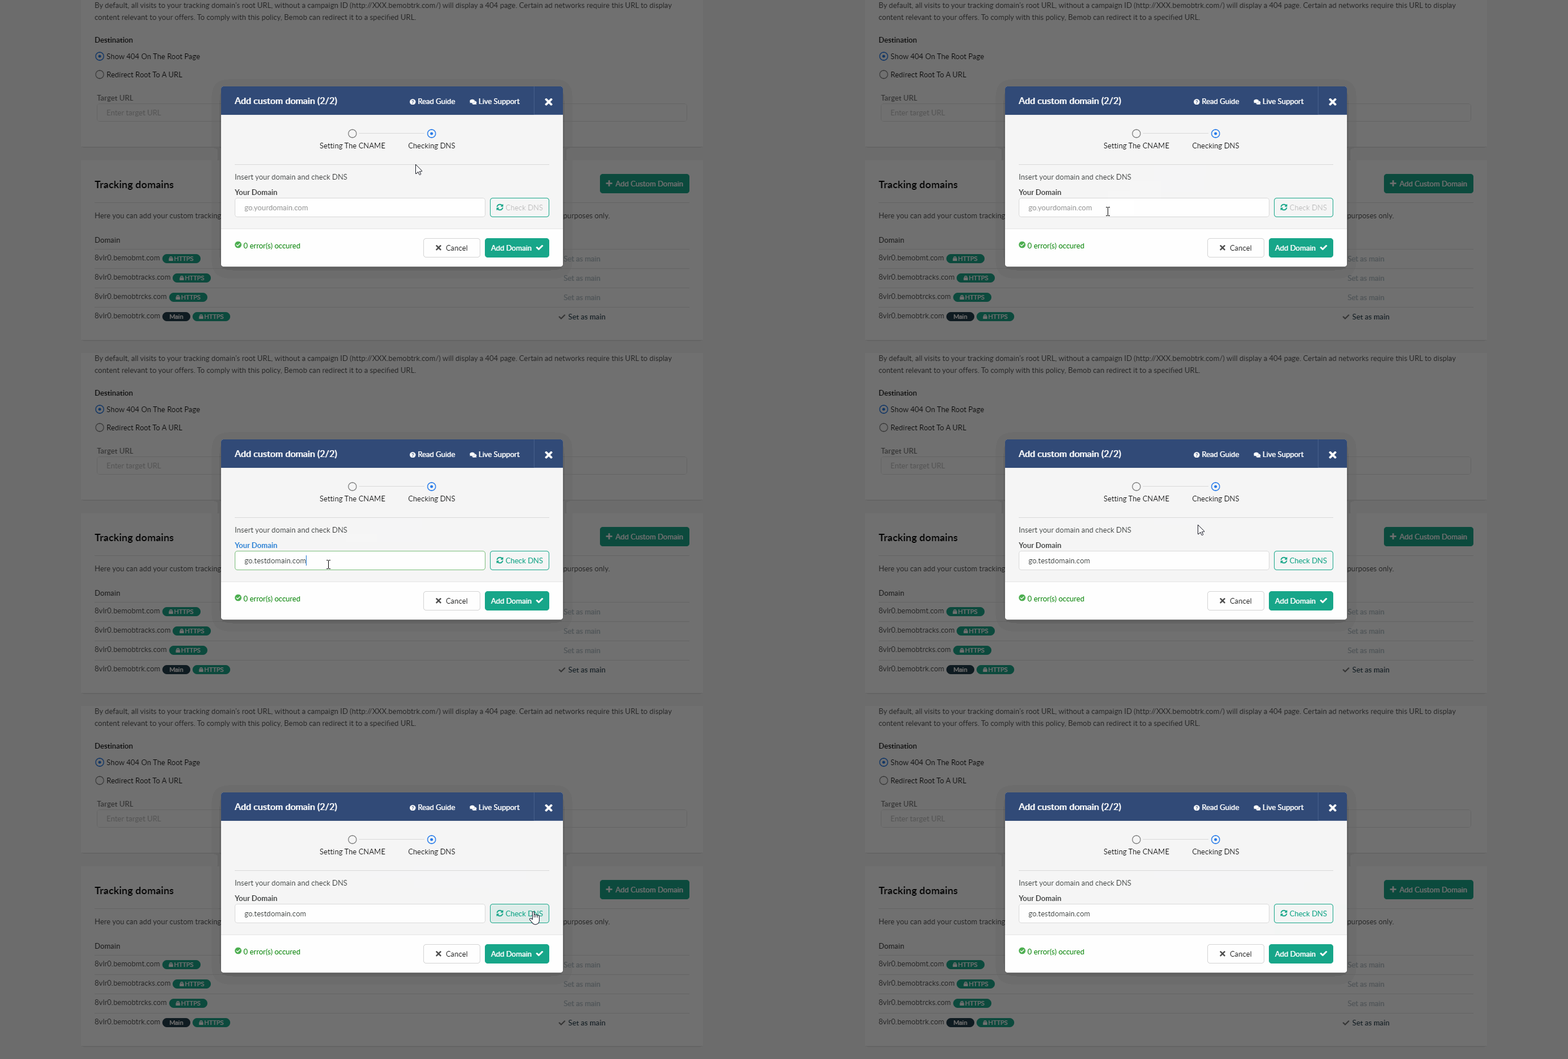
Insert your custom domain into new field and press Check DNS settings.
8. After domain appears in the list, press Set as main domain button.
Updated almost 5 years ago
